Cosplay Tips – Expanding Foam

554302_455365264517803_1245325082_n

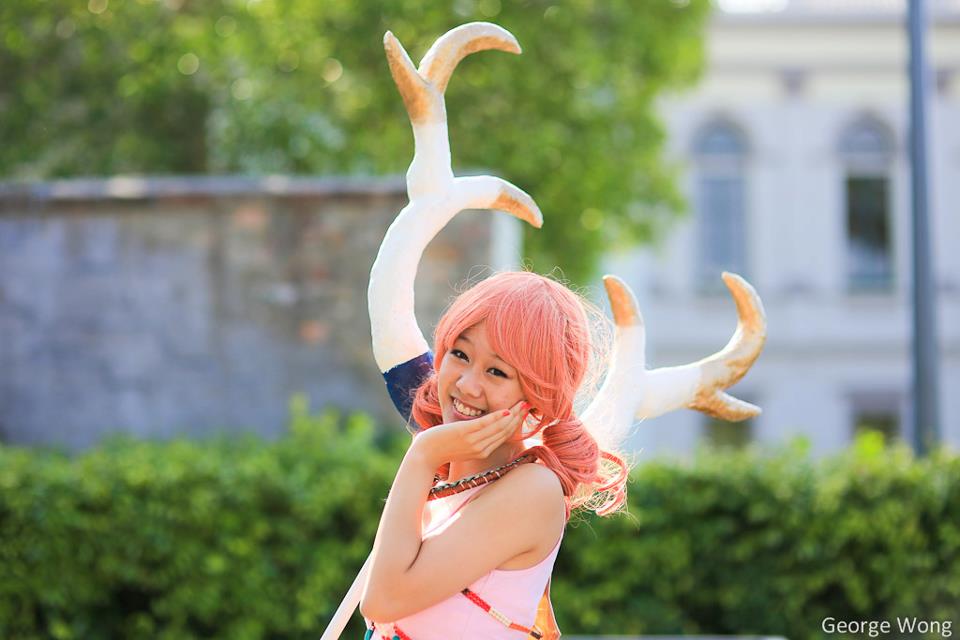
Photography by George Wong

Vanille Cosplay by DanniTee

This is basic a tutorial on how to use expanding foam on props for those new to prop making or those who want to try out a new medium. Expanding foam is basically foam in a can. It is sprayed out and expands like its name suggests. A can of expanding foam is a very handy material to keep around for cosplayer just as handy as the hot glue gun.

For props that are more curved like such as Vanille’s weapon from Final Fantasy XIII and Soge King’s sling shot from One Piece it is best to use expanding foam for the main part. Expanding foam can be easily cut and carved to the desired shape with a simple cutting knife.

When you decide to use expanding foam as the main medium for your prop the first thing you need to do is draw and cut out your design on to a flat light weighted material such as foam board, corflute, thick cardboard [though thick card board may be difficult to cut normally].

TIP: Draw your design slightly thinner than what is desired. The expanding foam will add to this and make it larger.560867_10151155435742405_997300465_n
 

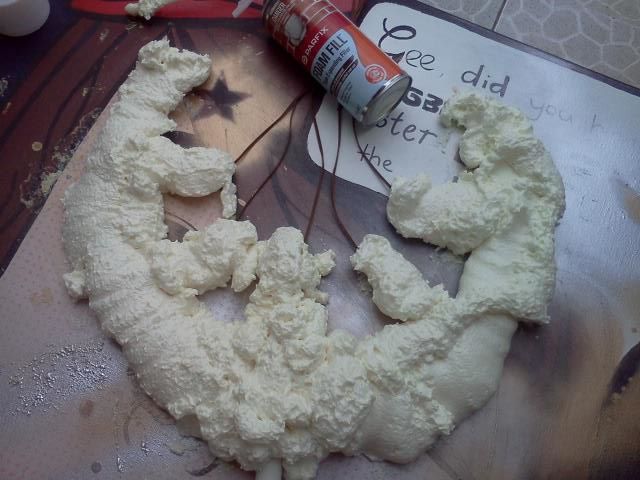
Once your piece is cut out, lay out some newspaper and spray the expanding foam over the design. Cover as much as you can but remember the foam will expand 3 times its original size. Only work on one side at a time. Don’t forget to wear gloves. Expanding foam is difficult to remove off skin if you do not act quickly.

TIP: Keep a bottle of nail polish remover nearby just in case you get some expanding foam on your skin. Nail polish remover will help remove expanding foam if you act quickly.

182386_10151155435762405_1805460605_n


It will take a couple of hours for it to harden but it is best to leave it over night. Once it is completely dried flip it over and spray the other side.

TIP: Lightly spray water over the whole thing. This will make the expanding foam harden faster. It will also give it a smoother surface than usual.

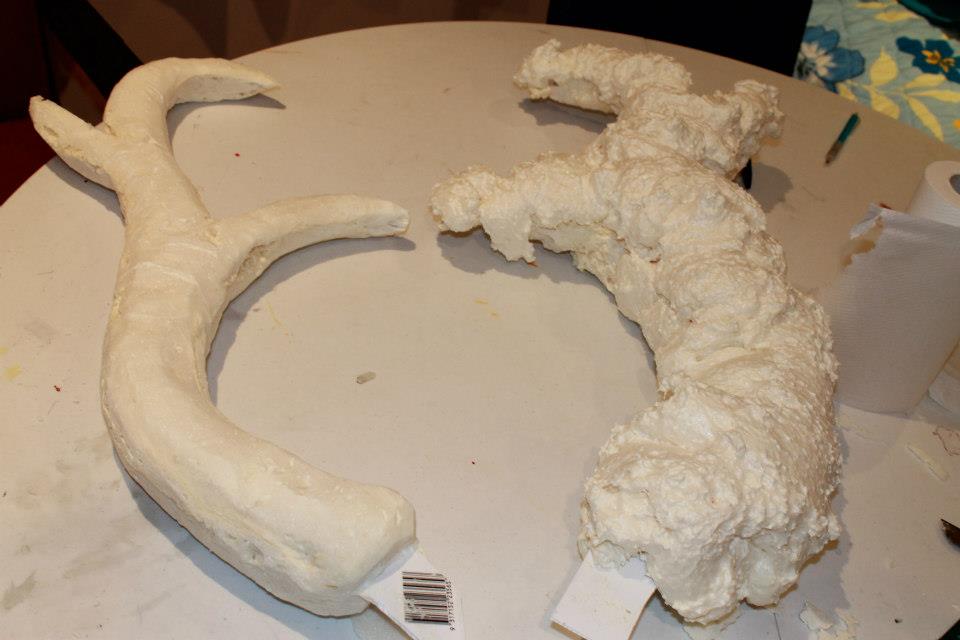
Once both sides have hardened use a utility knife and carve the bumps away for the desired shape. See below for a before and after shot.

224254_10151005795592405_697860244_n


TIP: If you are carving and suddenly see that inside is still gooey and honey-like stop immediately and let the foam completely dry. If you continue to pull away at the piece it will create massive holes.

You will notice that there are small holes all over the foam. If you want to cover these holes for a smooth finish, use another medium such as paper mache or paper clay and completely cover the whole piece. Both paper mache and paper clay can be smoothed out with sanding paper for an even more smooth finish. Once that is done, feel free to paint it over with acrylics, spray paint etc.



Some incoming new cosplay costumes in May

最终幻想10-尤娜装1代-召唤服-1

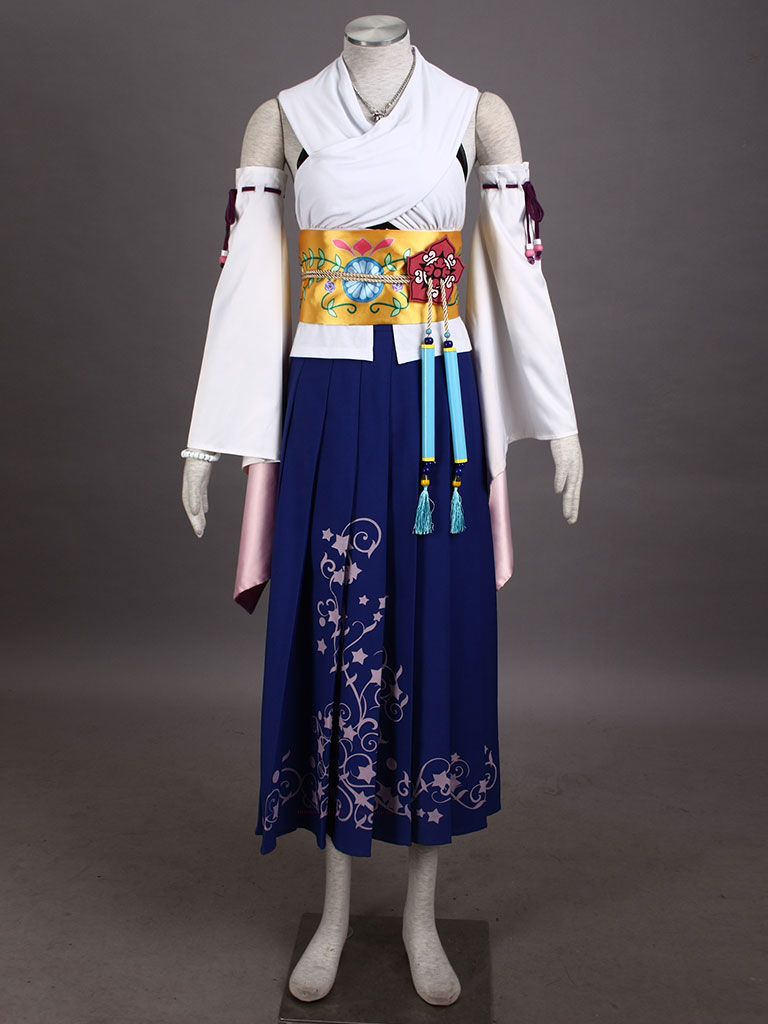
In May,we will update 70 around new cosplay costumes,wigs and accessories in our shop, cosplayer models will wearing all of these products in our shop, we hope customer who are interested in our products, will check more often in our blog,facebook and twitter account to get the news in time.

Some new cosplay will be updated in May:

  • Sword Art Online : New style Kirito costumes.
  • Hetalia:Spain,France,Russia
  • Black Butler:Madam Red,Hannah,Sebastian,Undertaker and Ciel
  • Puella Magi:Akemi Homura,Kyoko Sakura,Sayaka Miki,Tomoe Mami
  • Kingdom Hearts:Dark Sora
  • Bleach:Kenpachi Zaraki,Yoruichi,Ulquiorra,Soi Fon
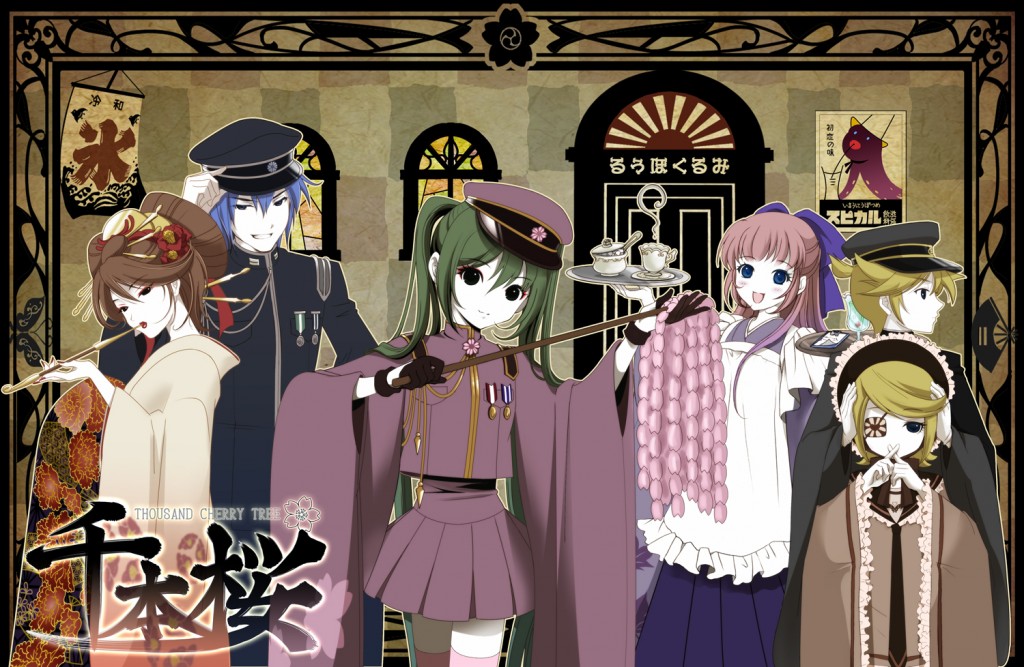
  • Vocaloid:Miku love is War ,Miku Snow,Miku Thousand Sakura
  • Other:Zelda Link


Tutorial: Vocaloid – Senbonzakura Haraegushi

Senbon.Sakura.full.771523
SENBON11

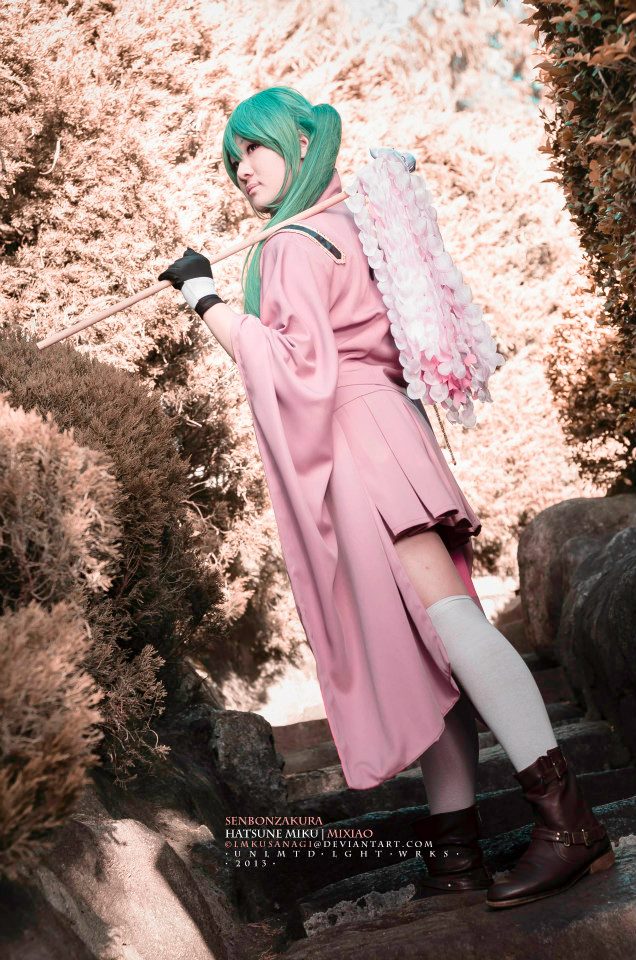
 Haraegushi or Onusa is a wooden wand used in Shinto  rituals. It is decorated with many zig-zagging paper streamers it is waved left and right during purification rituals. In Senbonzakura, The Haraegushi uses the shape of cherry blossoms to replace the zigzag streamers.This tutorial will show you how to make Hatsune Miku’s Cherry blossom Haraegushi. For my tutorial I used various types of pink fabrics to create a look with more depth instead of the original with one colour. Feel free to just stick to one colour or experiment with various.

What you need:

  • Various shades of light pink fabric [if you want a dynamic look]
  • Light pink flower petals. This can be purchased off ebay if you can not find it at the stores. You will need over 300 petals
  • Sewing machine
  • White fabric [felt]
  • Red wool
  • Wooden rod around 70-100cm
  • White Ribbon

Steps

  1. If you wish to create the dynamic look start at this step if not continue to step 4. Cut4cm wide and 40-50cm long strips of pink fabric. It is up to you how many strips you want.
  2. Sew a straight line straight down the middle of the stip and cut petal shapes into the strips.

IMG_0892

3. The darker pinks will be on the inside of our wand so sew all the pinks together at the top. When sewing it together lay an extremely long strip of white ribbon under. This will help you hold the strand easier.

IMG_0893


4. Now we sew the petals together. So, start with one petal and overlap it with another at the end. Continue sewing petal after petal until you reach a similar length to your strips or a length of 40-50cm.

5. Once all the petals have been sewed , continue to attach it to the ribbon strip we have above.

6. When all the petal strips have been sewed together they should form an extremely wide curtain of flowers. Wrap the darker end first to the wooden rod. If you don’t have the darker pinks just wrap either end.

7. Cut a small square that will be able to fit around the top of your bundle of petals with extra space to spare.

8. Grab the red wool and tightly coil around under where the ribbon is, this is the thickest part of your bundle and make many knots. And we are done!

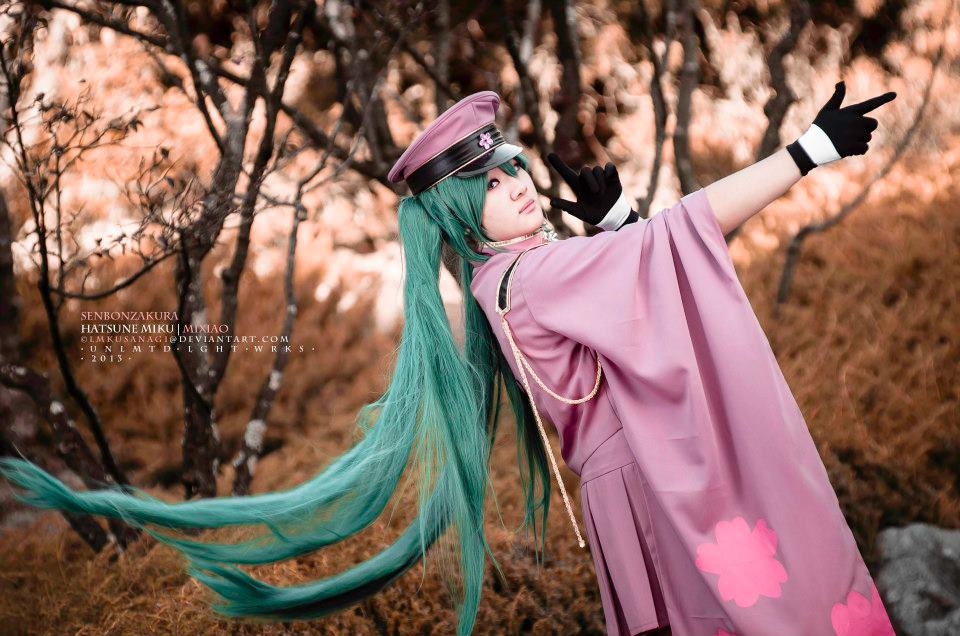
Senbonzakura Photography by LMKusanagi

Cosplay by Mixiao

SENBON12