
This is a step by step explanation of how I made my chest plate for the character Silica from the anime Sword Art Online. I used this method was an experimentation I did with Fimo air clay, it has worked really well and I’m here to share my process. There are many other ways to make amour such as using foam, wonderflex etc. but I find that foam tends to crinkle after a while and wonderflex is too pricy. However this method only works well if you have a mannequin that you can adjust the size to fit your measurements.
So what you need:
- An adjustable dress mannequin and set it to your size
- Fimo Air light clay. I used 2.5 packets for the front piece for a small build person and I suggest using 3-4 for larger built.
- Cling wrap
- Tougher plastic such as a large plastic bag
- Rolling pin
- Water spray
- Container of water
- Permanent marker
- Utility knife
- Sanding paper
- Spray paint
- Acrylic paint in a similar colour to the chest plate
- A gloss or varnish. If not pva glue mixed with some water will work fine
- Heaps of patience
The clay that I use is:
STEPS:
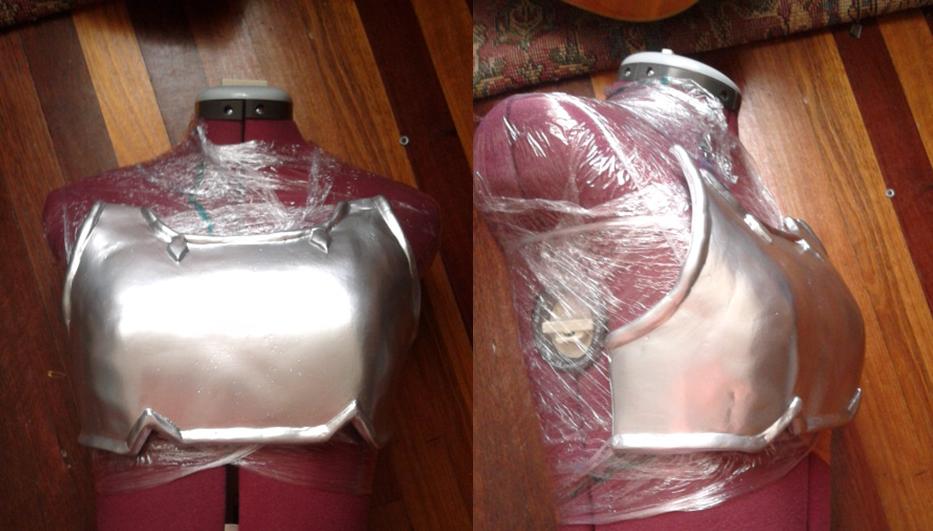
- Wrap up your mannequin with cling wrap.
- Draw on the shape you want for the chest plate onto the plastic with the permanent marker.
- Cover a smooth flat surface such as a table or floor with cling wrap. Try to limit the amount of creases as possible as they will show up later.
- Open up the desired amount of packets you wish to use and try to mixed them all together first.
- Lay it out onto the covered area and try to flatten it is much as you can. This will make it easier for you later.
- Place the tougher plastic bag over the clay and use the rolling pin to flatten the clay into a rectangle strip that is slightly larger than the desired size of the chest plate.
- Remove the plastic bag and pick up the rolled clay with the bottom cling wrap.
- Place the clay facing down onto the dress mannequin so now the cling wrap should be facing towards you.
- Adjust the clay and mould it to the body.
- Try to remove as much excess clay as possible as it will help you later on. You can also use a water spray to help smooth over the surface with your hands.
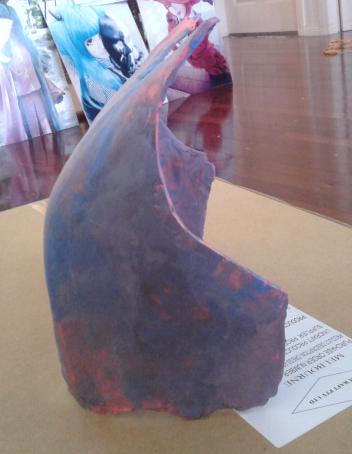
- When you are happy with the shape and size, remove the plastic and let it dry for 24-48 hrs.
- After the time period has pasted gently remove the clay from the mannequin and let it dry on the inside for the same amount of time. Your chest plate should now be dry.
- Draw onto the chest plate the right shape with a marker and use a utility knife to cut off the excess. If you make a big mistake you can fix up the area by adding more clay and try to smooth it out as much as possible, let it dry and repeat the cutting process.
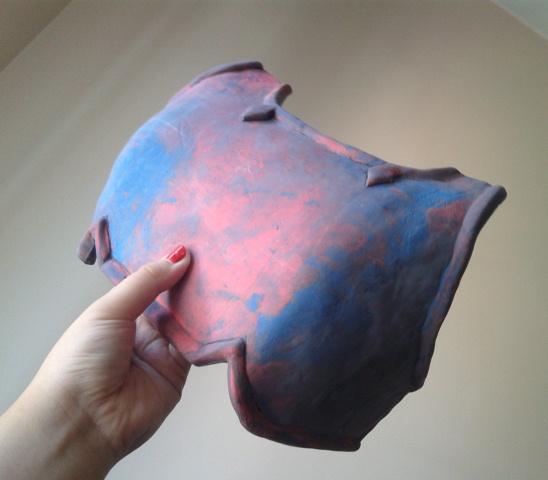
- Now onto the details. Use the marker and draw on the details you wish to add that come out from the chest plate.
- With the addition of the details keep a water spray and container nearby to help you smooth the surface. Pinch off large pieces of clay and roll it into a cylinder. Add these to the edges of your chest plate . Press it down and smooth it out as much as possible. If it does not stick dip the clay into water.
- Let it dry completely.
- Once your chest plate is dry, use sanding paper to smooth over the surface.
- Now use a gloss or varnish to cover your whole piece. If you don’t have that PVA glue mixed with water will work as well. Let it dry.
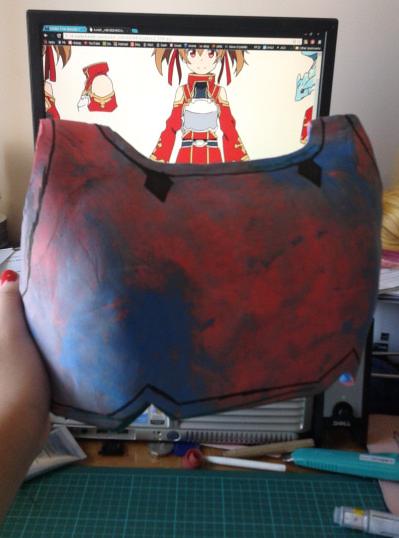
- Paint the inside of the chest paint with a colour similar to the outside. Or if your clay is already that colour that is fine to leave it as it is.
- Finally use spray paint to coat the outside of the chest plate.
this will help me so much, thank you!