
Cosplayer Bio:
Name: Lid’l/girl/Netherlands
Social Networks: tumblr, deviantart
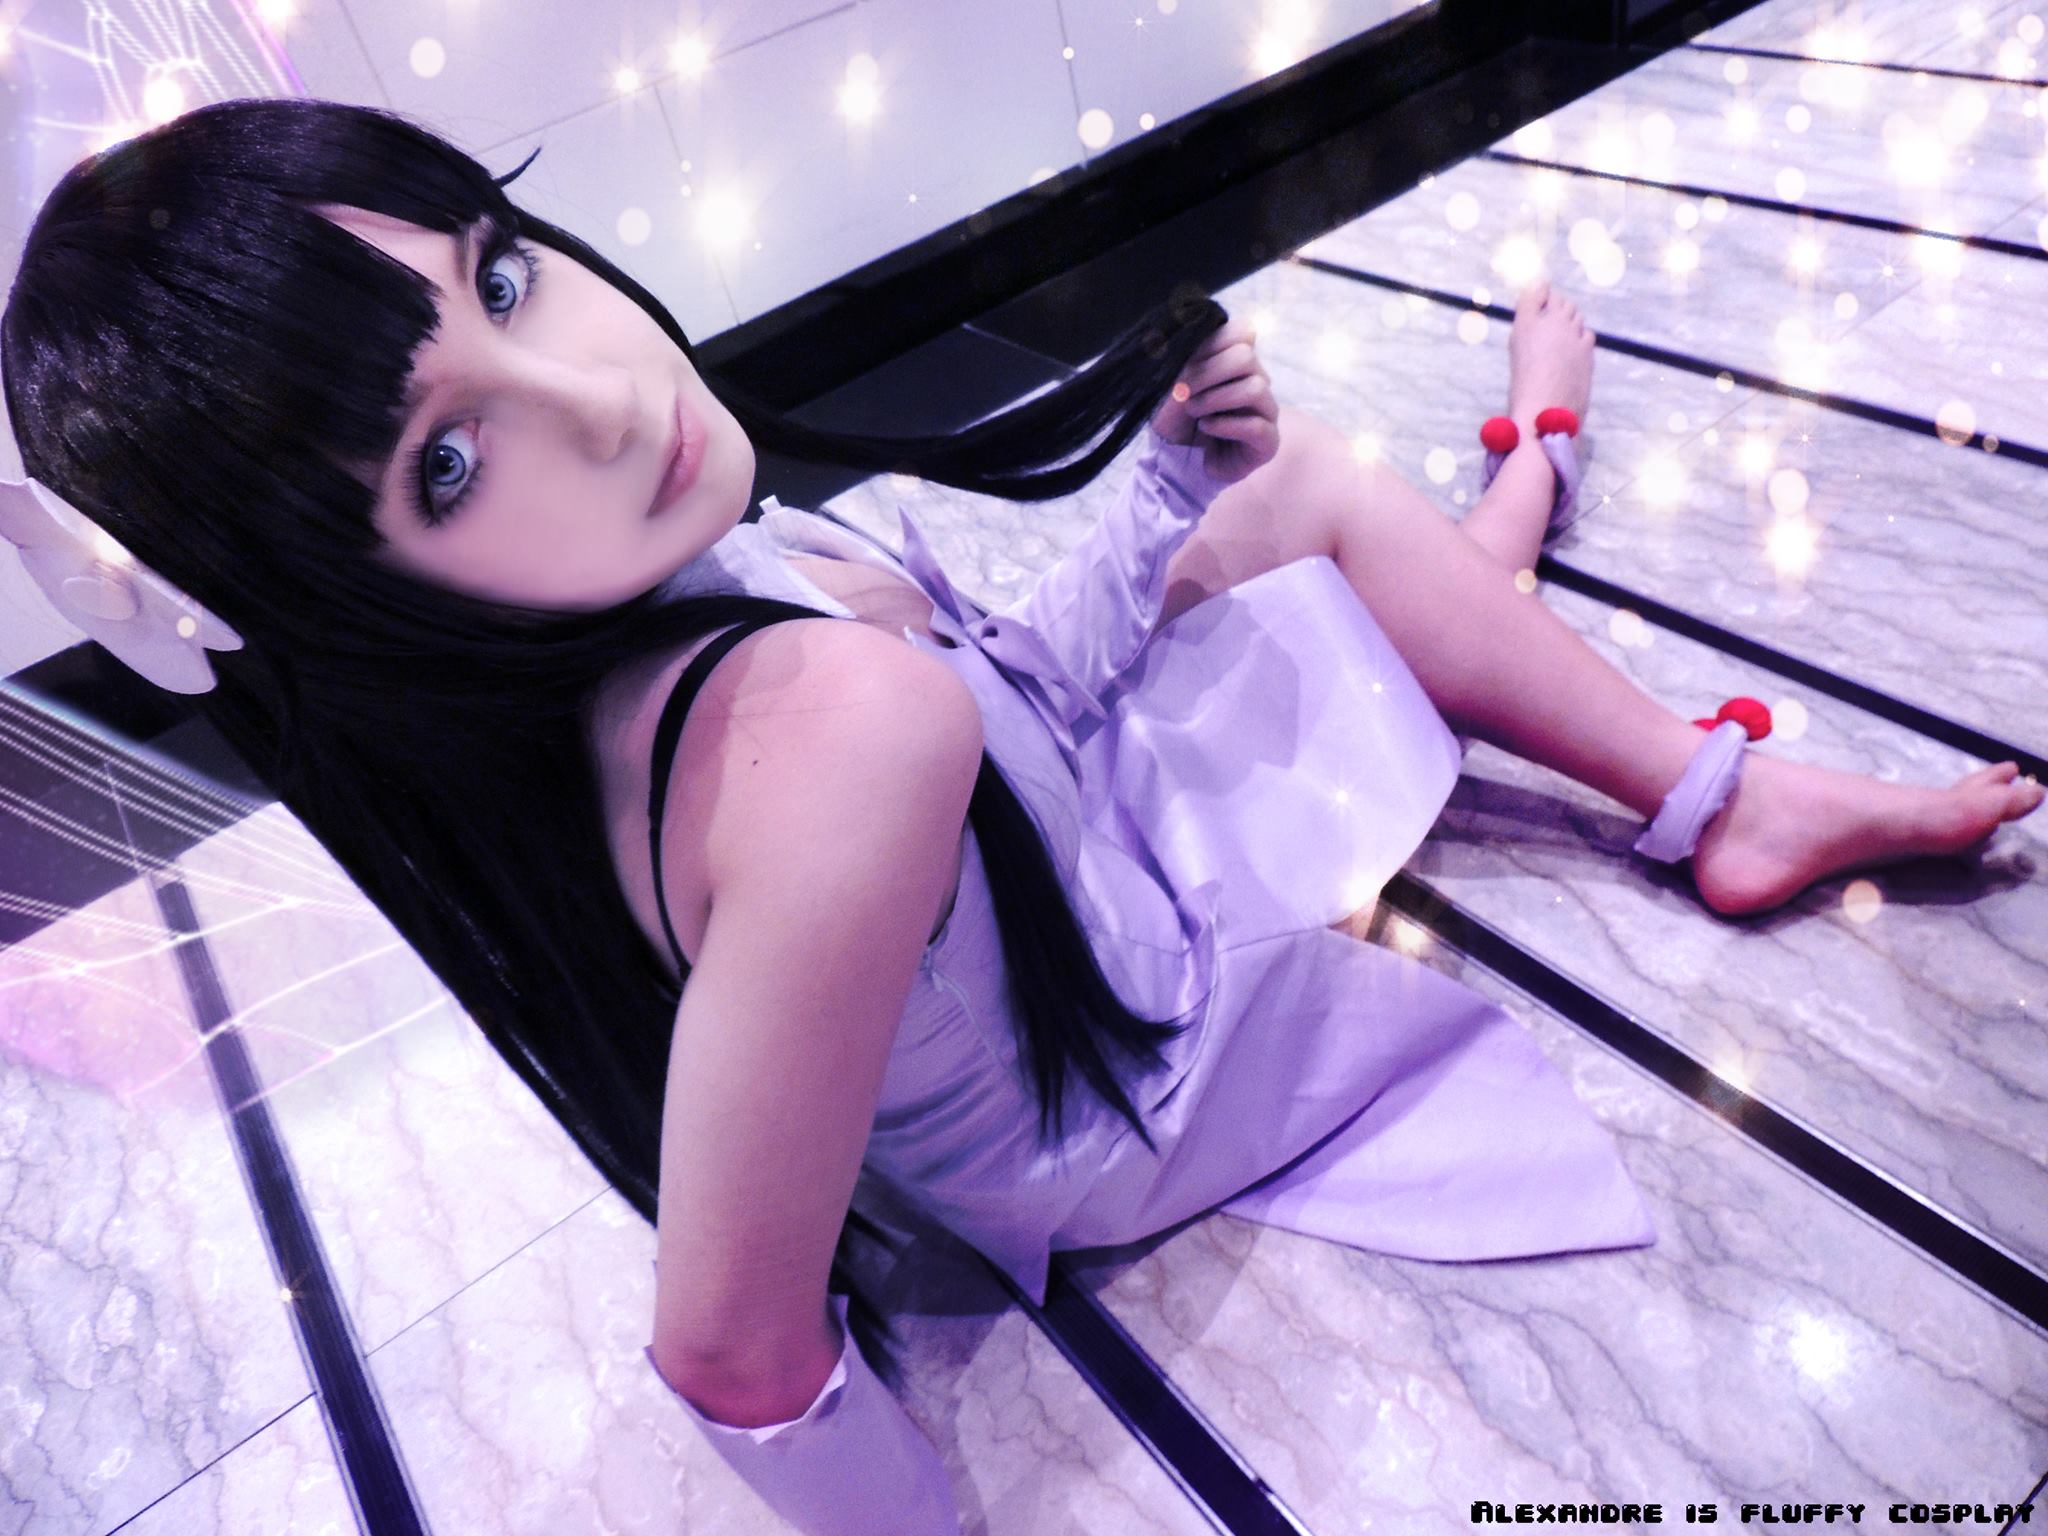
Character: Soma


Comments from the cosplayer:
Of the few cosplays I’ve made, I think Soma was most fun to wear. I love exotic characters and rich fabrics, so Soma’s artbook outfit really appealed to me. Also, the poor thing doesn’t get nearly as much attention as he deserves 🙁 I opted for a real Bollywood/Indian feel with the pictures, even though Black Butler is set in England, because I wanted to bring out the rich and princely character of Soma. Even though he is much more of a troll to poor Ciel, heh heh.
Photographs are by Liza van Zoelen and Kees Peters.
In 2011, a couple of friends and I entered the cosplay competition at Animecon (the Netherlands) with a silly little dancing act. You can find it on youtube. I hope you enjoy!
- First Prize: any costume from our Black Butler costume catalog
- Second Prize: any wig from our Black Butler wig catalog
- Third Prize: $20 Cash Coupon
- Winners after third will all get $15 Cash Coupons
The voting process:
- You can vote for the cosplayer by Facebook likes and Google Pluses. Each Facebook like or Google Plus will be counted as one score.
- In addition, the organizer Miccostumes.com acts as another judge. We will govern some votes and vote for the top 20 contestants. I.e., the best entry (in our opinion) will get additional 20 scores, the second will get 19, third 18, and so on.


")
")