How to Make Gintama Okita Sougo’s Gun-Cosplay Tutorial

EMBED THE IMAGE Above ON YOUR SITE

After knowing how to make Devil Kings Date Masamune’s armor, macros frontier Sheryl nome’s microphone, etc, we plan to share you tutorials on how to make Gintama Okita Sougo’s gun here. For sure, a convenient and similar prop will help you have a better time on a cosplay show. Now, let’s begin.

Tip 1. Draw a blueprint.

See from different angles; you will get different designs on Gintama Okita Sougo’s gun. Thus, select one first of all and don’t change it over and again.

Tip 2. Choose materials.

Required material: black paperboards, black grey boards, PVC pipes and corrugated paper.

Materials have a direct reflection on how props will look and the difficult level of making. Here, black paperboard is a must-have item. To make layers seem much clearer, you are recommended to choose black grey boards with a moderate width and thickness. But when it comes to the black gun body, grey boards are not suggested.

PVC pipes are ready-made, convenient to be used and inexpensive. It depends on you while choosing the length and diameter. Usually, pattern with a length of 1 meter and diameter of 16cm is selected.

Corrugated paper should be a universal material on making cosplay props. You get this cheap material from the packaging box of milk or instant noodles.

Tip 3. Find other tools.

Required tools: knife, scissor, ruler, pen (black is better), hot glue gun, hot glue stick and latex.

Tip 4. Make the gun.

1st. Prepare components according to the blueprint. Referring to making the trigger and pikestaff on the gun, you can buy a cap gun and fix it around the barrel by black paperboards on the basis of the size on your design drawing. In this case, you save a lot of time and make a gun seeming three-dimensional. Or you can make a model with a ready-made pikestaff in your home. Take the measurment, draw the blueprint, make plates by corrugated paper and glue them. 4 layers of corrugated paper can make the required depth. Put trigger between two layers in the middle and build the frame on outside two layers. Finally, paint it to be black.

2nd. Make the gun body. Two ways can be also adopted here. First, use PVC pipes. Take the right measurement of length. Cut and color them, which will be rather time-saving. Second, use black paperboard with a layer of corrugated paper inside to enhance the strength. In this case, glue black paperboard with corrugated paper first. Planish them and wait until they dry. Paint the insider corrugated paper to be black. Add more water in pigment, which will make corrugated paper more wet and easy to be molded. Then, roll it up and seal it by hot melt glue. The gun body is finished when glue dries.

3rd. This step is much easier. Just stick previously prepared components upon the gun body one by one. For a better tiered look, black grey paperboards are used to make parts on the outside surface. Thus, hot melt glue is chosen. Just pay attention to this: well control the time while using hot melt glue.

4th. Rivets can be made by thumbtacks. Then paint them by black oil pen, seeming really vivid.

Tip 5. Modify some details.

Final modifications ask you to be patient. Take the exposed nonblack lining as an example. It should be painted to look the same with black pigment around. Then, deal with extra hot melt glue on the surface. Adjust the directions of some small components.

To make a cosplay weapon is exactly an enjoyment. More tutorials will be continually shared here.

[Feature]Cosplayer Interviews-ninjahobbit09

Today, we are going to interview Lindsey, also known as Linger Zero Lindsey. She has collected Zoids for 15 years. To some degree, you can say she is really a Ziod fan. Bringing Zoids to life may be one of her wonderful dreams. Here, let’s welcome Linsey and share her cosplay story together!!

1.Please Introduce yourself first?

-My name is Lindsey, or people know me as Liger Zero Lindsey. =] I am a Zoids Cosplayer.

2.What does cosplay mean to you?

-Everything. Zoids is my life and I have been collecting them for over 15 years (My collection is HUGE), so being able to bring them to life by making cosplays means the world to me! And seeing how many people still remember Zoids just makes it ALL the better!

3.What was your first cosplay?

-Liger Zero from Zoids New Century Zero. It had its problems, but overall I loved it and it was a pretty big hit =]


4. Does your family supports your cosplay?

-For the most part yes, they love watching me build it and seeing the finished product, and they really support me when it comes to going to cons to wear it. Only thing my mom does not like? The big mess I make while building it! Hahaha!

5. What is your most memorable cosplay experience?

-I have only made 2 cosplays so far, but my best experience has to be when I was Liger Zero Jager in the Sakura Con 2011 Cosplay Contest. I was nervous at first, but as soon as that Zoids Theme started playing, I went out and all for it and hearing that crowd cheer and all the flashing cameras actually made me shed a couple tears of joy!

6. What are your 2011 cosplay plans?

-2011 was and still is for Liger Zero Jager. Jager went to Sakura Con 2011 in Seattle, WA and I’m hoping to take him to one more con this year. My next cosplay which will be started this summer will be Liger Zero Schneider for 2012.

7. Notice you made Liger Zero Jager Cosplay,really amazing! So share more details about it, i think many cosplayers are interested in how you make it.

-Jager took 6 months to build, compared to the 3 months that Zero took. So it being my 2nd cosplay really still made it difficult! The mask itself took 3 months, and the booster backpack took about 2. So the remaining time was spent on the rest of the armor. Zero Jager was made of foam board, cushion foam, and fun foam. So overall was pretty light and comfortable to wear! The heavy thing was of course my backpack because he had lights and the battery pack inside. The mask was pretty light as well seeing as how it was made of the 3 previously listed materials, but with all the stuff on the back of the head, made it very back heavy! Jager is pretty much all foam board and spray paint, oh, and a lot of hot glue!

8. Any other cosplayers you like?

-I love any cosplayer that is not afraid to show that they are proud of what they do and are not ashamed to say they make costumes to wear to things like conventions. I of course adore other Zoids cosplayers (whether it is a human character or an actual Zoid) but I adore just about all cosplays, I also love fursuits!

9. Do some changes happen to you after cosplay?

-Actually, yes. After I started cosplaying in 2010, I noticed that I had become a lot more outgoing. People that remember me from high school know me as “The Zoid girl that sits alone in the corner or the room”. But anymore, I’m not afraid to put a Zoids cosplay or fursuit on and dance to music! I no longer just sit by myself, of course I have my fiancé, but cosplaying has really brought out the fun in me and I just love it. I have severe anxiety and simply working on a cosplay can make it all go away. It may seem dumb to other people, but cosplay has done a lot for me. Not to mention it is a freakin’ blast!

10. Any advices you wanna share with cosplay newbies?

-Don’t be afraid to cosplay. People like to say that were freaks or that we need lives, but just do it. Don’t be afraid! And if you have the guts to make your own cosplay at home instead of buying it, don’t let people talk you down, cause while they bought theirs online, you made yours with your own 2 hands. And trust me, it is a good feeling, when I had people ask me if I made Liger Zero and Liger Zero Jager, it was SUCH a great feeling to say, Yes I did! So if you’re new to cosplay my advice is don’t let people talk you down, do what you love. And make your cosplay with your own two hands, cause even though it is hard, the end result makes it ALL worth it!

How to Make Devil Kings Date Masamune’s Armor?

EMBED THE IMAGE Above ON YOUR SITE

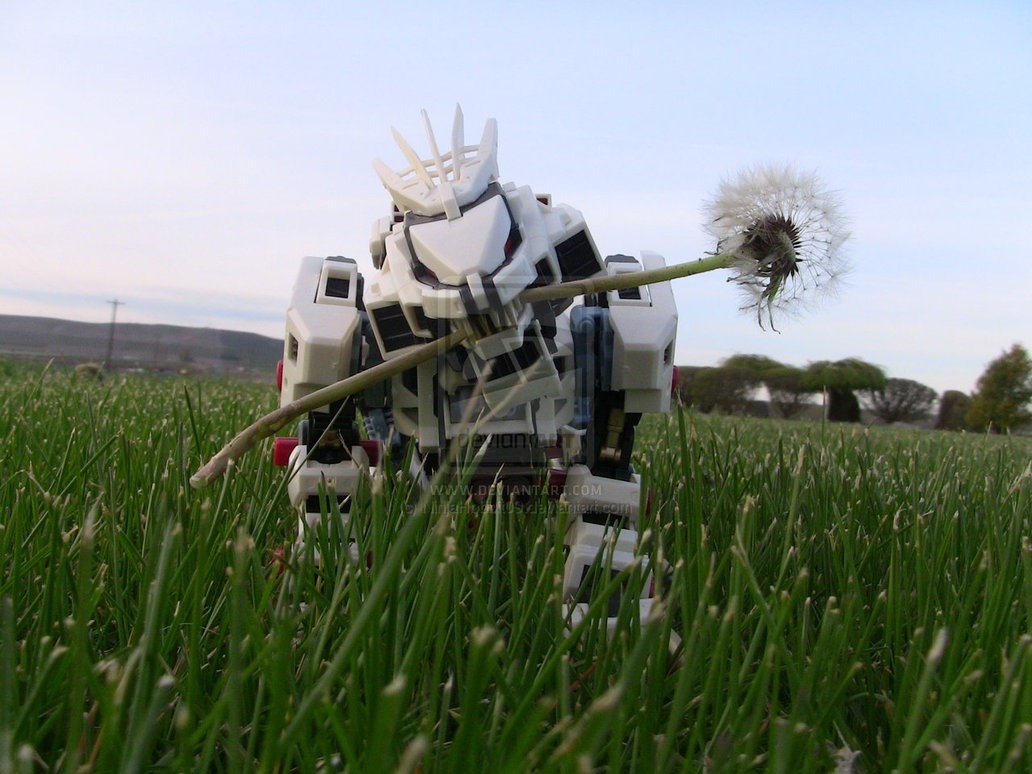
After posting several articles about characters or cosplay props in Naruto and Bleach, we begin to focus on Devil Kings today. For cosplayers, it’ll be interesting to make props personally. Here, tips on making Devil Kings Date Masamune’s armor are shared with you.

Required materials:

1. Two large pieces of black EVA with skin on, not exceeding 5mm. They are     cheap and easy to be used.
2. Black, golden yellow spray paint and black propylene.
3. White latex and hot melt glue.
4. Cap stretcher (it’s not a must-have item and difficult to be found. I got it from my pirate hat purchased on Halloween).

Tools:
Knife (big and small blades are both needed), abrasive paper, brush, awl, kinds of measuring and line tools, calculator and various small items.

Now, let’s begin to make the armor.

1st, make the “eggshell” on the top of the head. It’s a must to make a model first, just by paper. Six triangles with the same shape are spliced together. As the yellow line in the picture shows, the radian of the triangle reflects the final shape of the hat. The part marked by blue line reflects the diameter of the hat. The length and width can be adjusted depending on you.

2nd, cut an EVA board according to the model (it’s better to buy a little more EVA boards and use parts with smooth surface. It’s not recommended to use the side without skin because it will be a time-consuming job to paint the latex, propylene and finally apply gloss oil, even though it really looks stunning.

3rd, splice six pieces. As they are thin, they will easily deform while bearing some force. Thus, press the model while using hot melt glue.

4th, as edge angles seem obvious on the surface, it’s better to use a hat stretcher. Just glue it onto the model.

5th, use middle-sized abrasive paper to burnish edge angles. You will find abrasive paper is unable to burnish those edges. Just exert your strength.

6th, a smooth hat has been finished, looking like this.

7th, make the armor around the neck. Cut three strips with a gradually increasing length, which will be glued outside the hat. Then, dig holes on those strips. Holes on different strips are diverse in order to be easily connected with other two strips.

8th, as the photo implies, splice all strips. Remember to paste a lathy strip on the place marked by yellow line.

9th, make “ears” on the helmet. After the shape is cut, prick seven holes with a little large diameter by awl.

10th, featheredge the back to be bended more conveniently.

11th, use hot melt glue on one side. Well control your force please. Pinch it when the glue is half dried. Then, paste the black propylene and wait till it dries. Stick it onto the helmet then.

12th, evenly paint a layer of white latex inside the armor. This will make EVA become hard and fixed, much easier to be painted. Then, two strips are used on the helmet. One is tied up and down. Another is tied front and back.

13th, make the tasses. Pay close attention to the radian and angles on the tasses.

14th, make the armor around the knees. First, cut a paper model with cambered edges. In this case, radian will form while being glued together.

15th, the shape of armor on knees looks like this.

16th, like this picture shows to you, connect three pieces in order.

17th, cut EVA boards. Pay attention to angles on calves.

18th, cut a concave groove on the EVA board to make angles. Well control your force and the size of the groove.

19th, bend at the groove and bond by hot melt glue. An angle has been completed.

20th, use hot melt glue on junction places. Then, roast it on fire and press it by fingers to fix it. Baked EVA boards can be also functional in fixing the shape.

21st, the final pattern looks like this. To make it seem more similar with the original look in the game, just make edges by hot melt glue all around.

22nd, make the shuko. Above methods can be used on making the paper model and EVA board.

23rd, shuko is a little troublesome to be made because of the columnar shape. Several wedge-shaped incisions are made on the back of wrist to facilitate the bending. Paint white latex and wait till it dries to fix the shape.

24th, make the breastplate. Two pieces of EVA boards are connected together. A small radian forms in the middle. This seems more handsome, XD. Don’t make an orbicular breastplate because it will seem so fat. This one can be worn just with ropes tied on four corners.

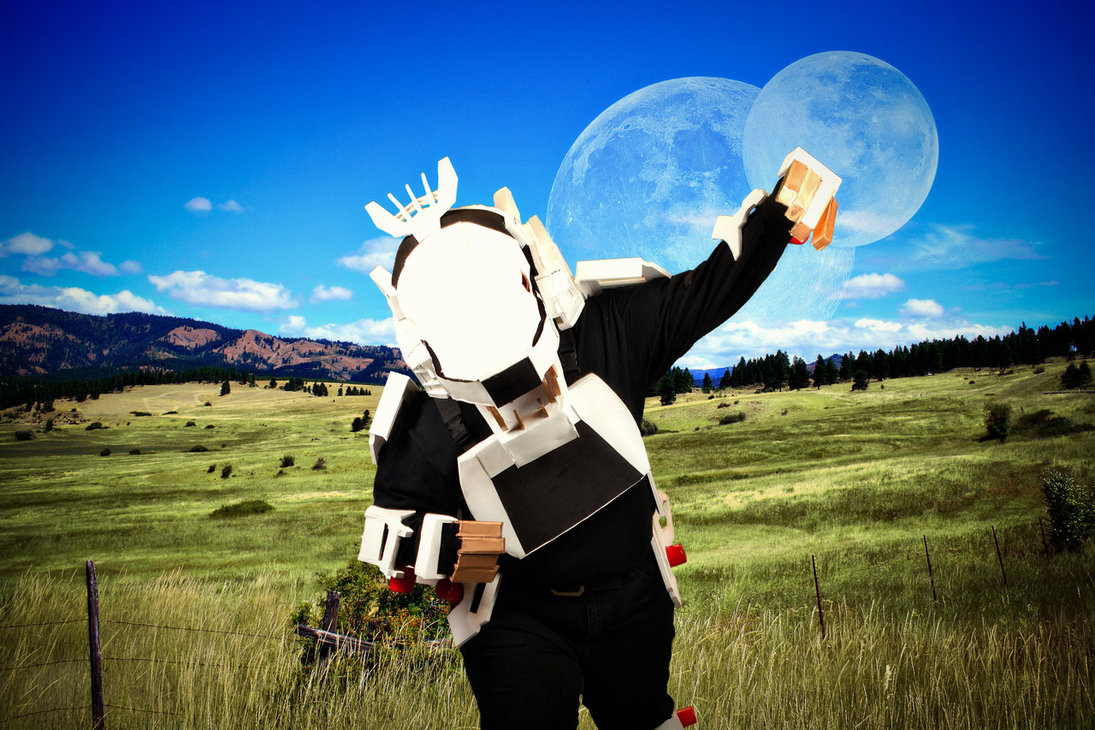
25th, varnish the whole armor by black paint. Cut a crooked moon. Varnish it with yellow spray paint and glue it onto the helmet. Black propylene and golden propylene will be used to draw decorative patterns. Armor on the upper arms and thighs are easier to be made. The final shape looks like this.

It’s challenging, yet interesting to make cosplay props by ourselves. More tutorials on making cosplay costumes, wigs and weapons can be found on miccostumes.com.