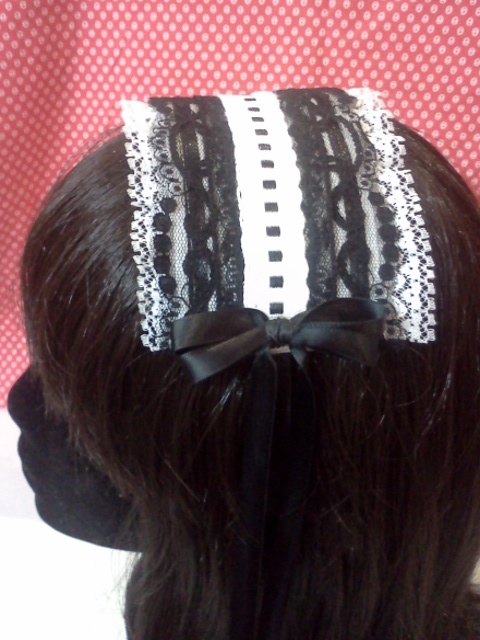
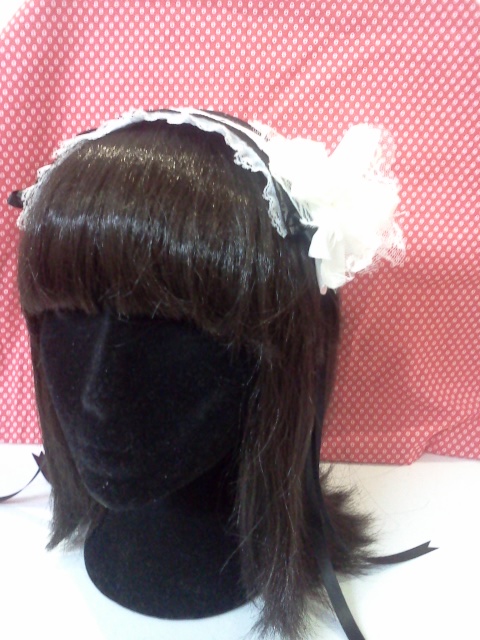
Thinking of cosplaying as a maid? Love Lolita fashion? Want to stand out from the crowd when waiting for the bus or train? Well this is a tutorial that will show you how to make your very own super cute and elegant Lolita headdress. The tutorial will show you how to make the headdress below.
Lolita fashion is based on the aesthetics of the Rococo and Victorian periods. The most classic colours used are black and white. These colours are perfect for those who are new to Lolita fashion. Lolita headdresses are typically rectangular in shape and generally have a focus point that runs along the middle of the headdress and lace trims for the edges. Repetition and balance are also key aesthetics that we have to keep in mind when designing our headdresses.
What you need:

• Light cotton fabric – this is our base colour
• Interfacing – this will strengthen the fabric and make it easier for us to work with
• Fabric binding glue – can be sold in a small roll or by metre. This looks like a web and is used for appliqué.
• Ribbon – find a colour that suits nicely with your base fabric colour. A ribbon colour that is opposite to the base colour is usually pleasing to the eye and it also gives emphasis.
• A variety of lace trims – the reason for a lot of different ones is that you never know a certain type may look better when you are putting fabrics together 😛
• Plain black headband/hair band
• Hot glue gun and glue
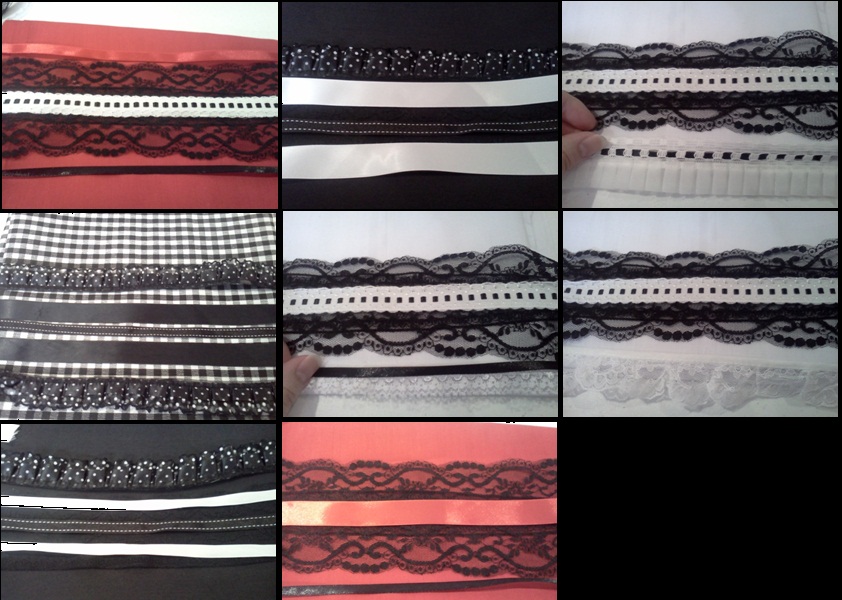
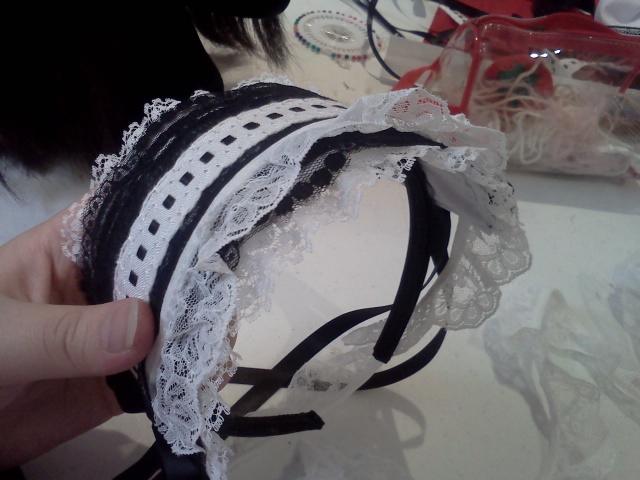
Here are some examples of different types of headdresses you can make when playing around with fabrics and lace.
1) First cut out 2 rectangles 25cm x 9cm or 10 inches x 3.5 inches.
2) Fold in the edges roughly 1cm or 0.5 inches and iron down. Do this for both rectangles
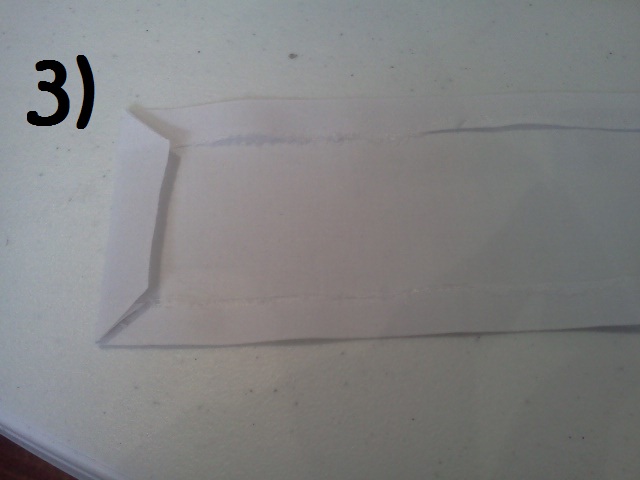
3) Where the fabrics overlap at the corners, cut it at an angle. Do this for both. This will make sure when sewing the corners, it will not be too thick.
4) Lay your rectangle on the interfacing and cut around it, slightly trimming the edges so that the interfacing piece is a bit smaller than your rectangle.
5) Iron down the interfacing onto one of your rectangles. The interfacing seals the 1cm flaps you made.
6) Cut out 2 pieces of lace, make sure the lace has at least 3cm [1 inch] hanging out on both sides. My lace piece is much wider than the headdress so I decided to fold it in so that when 2 pieces are next to each other and the combined width slightly goes over the edge. The folded parts also become a feature on my headdress.
7) Using the binding glue/web put this along both lace pieces, making sure that it runs along the middle of the rectangle and iron down. NOTE don’t forget to change the iron temperature to low, the lace might shrivel up.
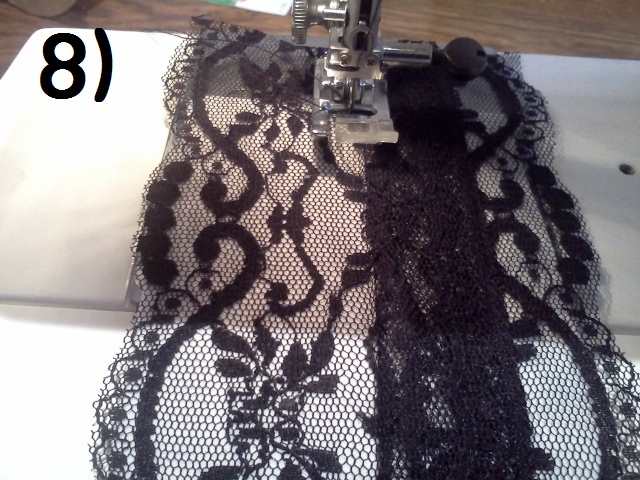
8) Now thread your sewing machine with black thread and sew along the middle of the headdress. You should be sewing one line for each lace piece. It’s alight if you can’t sew straight lines, the sewing will be covered later.
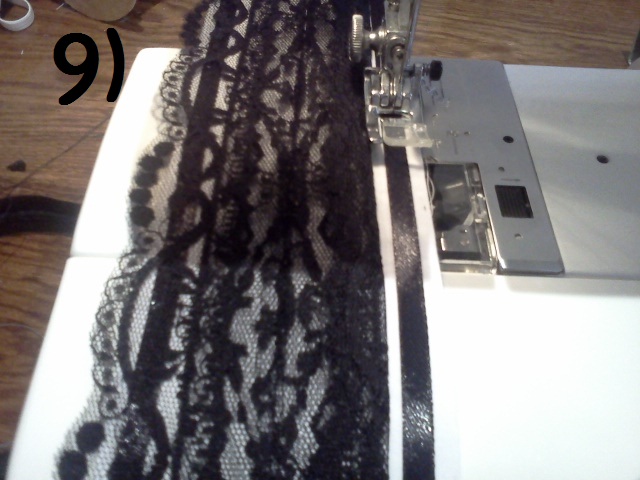
9) Lift up the lace flap on one side and sew a strand of ribbon along the edge leaving a small gap. Do this for the other side as well.
10) Cut your desired ribbon/lace etc that will be the centre focus of your headdress. Make the length of it slightly longer than your headdress because it will be folded in later.
11) Cut the binding glue/web to the same length as your headdress and place it in the middle and then put the ribbon over it then iron down.
12) Choose a lace trim and cut it to a length that is slightly longer than your headdress. To add more volume to your headdress you could sew on a few more layers of lace trims or frills.
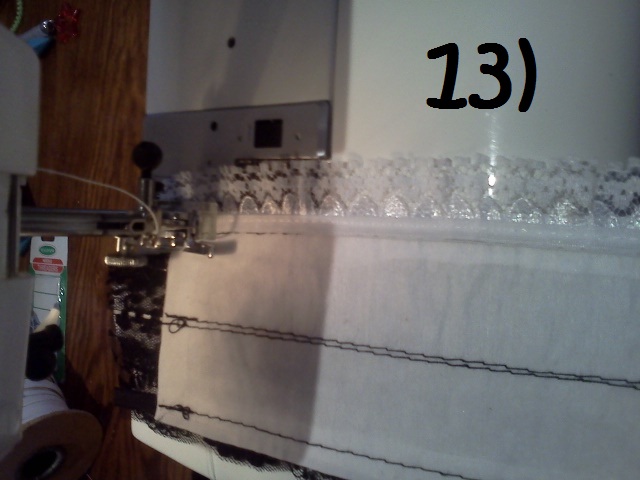
13) Sew the lace to the back of the headdress using white thread. Make sure to sew as close to the edge as possible this way the thread does not cross over to the ribbon. Do the same for the other side.
14) Place your other rectangle piece under the decorated side, make sure that both the 1cm folded flaps are facing each other.
15) Fold over the black lace and sew on that side of the 2 pieces.
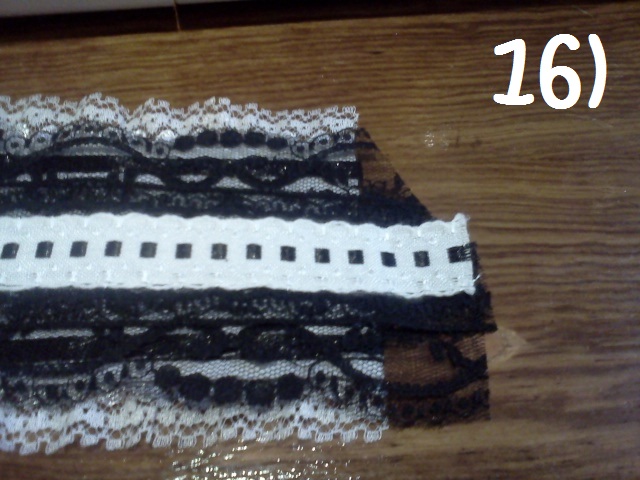
16) NOW change over to black thread. With the extra lace hanging off the sides, cut it at an angle to make a triangle and fold this in between the 2 rectangle pieces and sew together the 2 shorter sides.
17) Change back to white thread. Doing the same step as 16
18) Cut off the lace trim to the same length as the headdress.
19) Grab your headband/hair band and place your headdress over it. Find the perfect position for it where it will be in the middle and balanced out on the band.
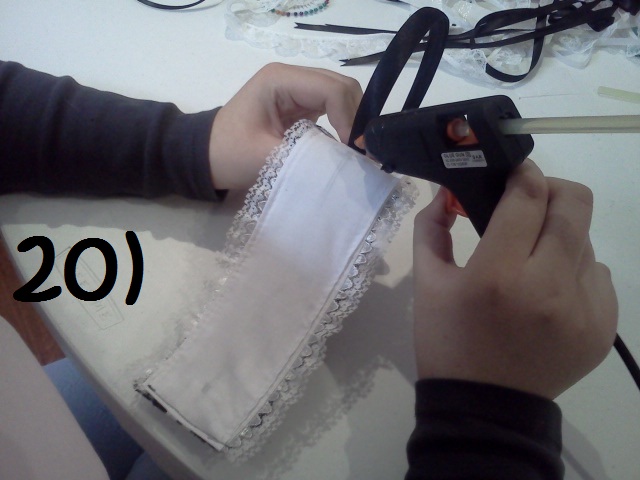
20) Holding one end of the headdress and band, put a dab of hot glue in this spot and press them together. Wait for the glue to dry before continuing. You may find that hot glue goes over the band, don’t worry too much because it will be hidden when you wear it.
21) Once you have finished gluing the headdress to the band make 2 bows out of ribbon the same width as your headdress and glue them to the sides of your headdress. This will cover the black thread underneath as well as make it extra cute. You could also add flowers, bells or whatever you find awesome.
And there we go, a cute and elegant Lolita style headdress.

Other ideas:
Check out my page at mixiao.deviantart.com for more maid lolita costumes, accessories, anime inspired stationary such as vampire knight folder covers and other artworks. Thanks for reading! o(^0^)V
Hey, this was a great tutorial. Will definitely haul out the old sewing machine this weekend, when I have time off from editing my blog. BTW, I published your guest post/a>. Great read!!!
thanx chrystal, and also thanx to provide us chance to provide guest post in your blog ~
Thanks! I’m glad you like it. check out my other stuff at
ya, hope you can make more great tutorials and share with us ~