One day I received a PM on cosplay.com from a fellow cosplayer asking how I made my scarf for Lavi. I told him to let me make a quick tutorial and I would explain it as best I could. Well, I don’t have the text anymore, so I have to re-write it here, but I still have the photos and will gladly share this with everyone now. I do have to apologize in advance for how offensively bright the fabric is in the tutorial. I have a ton of it laying around that was given to me and I use it for mock-ups and things like this.
Step 1: Planning
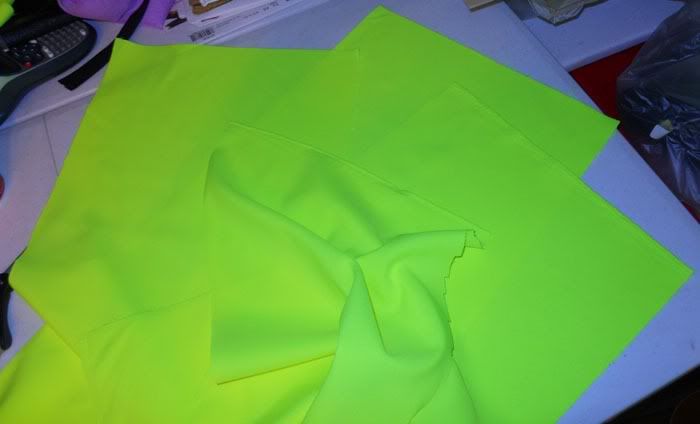
Before you even start, you will need to do a little planning for your length and width of your scarf. My finished scarf is pretty long, 142″x8″. I went with this length because Lavi’s scarf always seems to have a life of its own and I wanted mine to be the same. I used a flannel fabric so that I didn’t have to back it to get it to stand up around my neck, it just does it on it’s own. So, for the length, I cut four pieces 72 1/4″x9 1/4″. There’s a reason for cutting so many. I didn’t want any seams to show, particularly the center seam when joining the two lengths together. So the four pieces create the two sides of the scarf. You still with me? Also, I cut them to have a 5/8″ seam allowance on all sides, so the finished length will be what I initially stated for my scarf.
Step 2: Joining Your Pieces
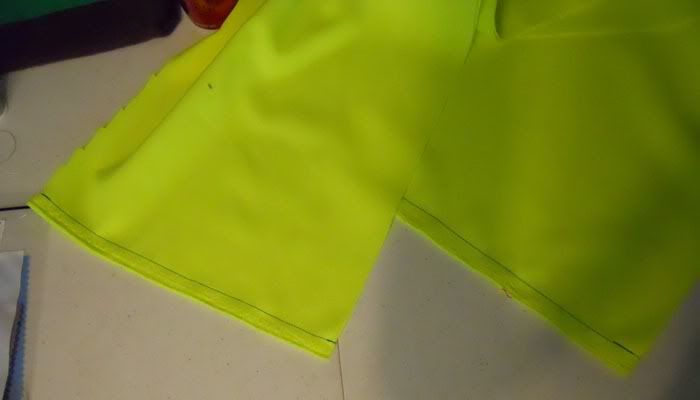
Using a 5/8″ seam like I mentioned, stitch two pieces together at the ends, creating one long piece. Do it again for the remaining two pieces.
Step 3: Press the Seam Open
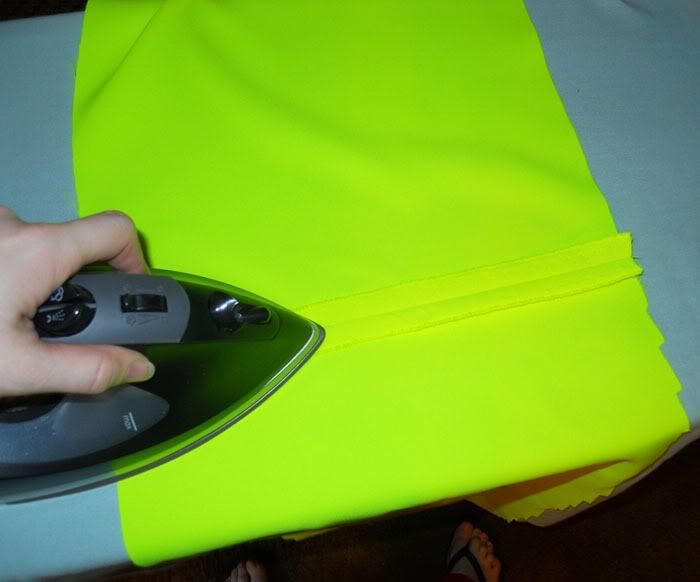
Press open the seams you just created. It will make the scarf lay nicer and the seam just looks cleaner if you press it. And yes, I pressed the flannel I used for my real scarf and it was fine.
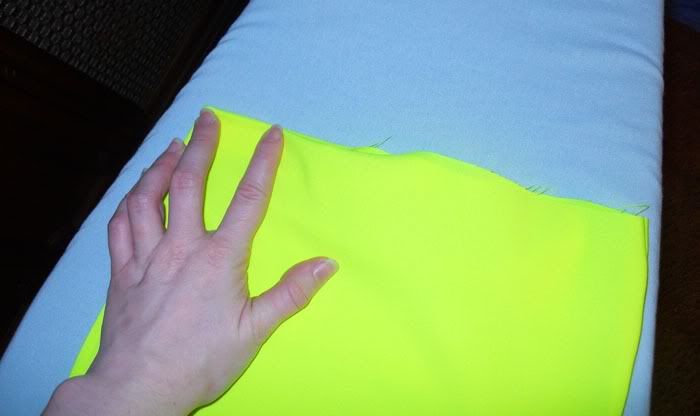
Step 4: Join the Pieces
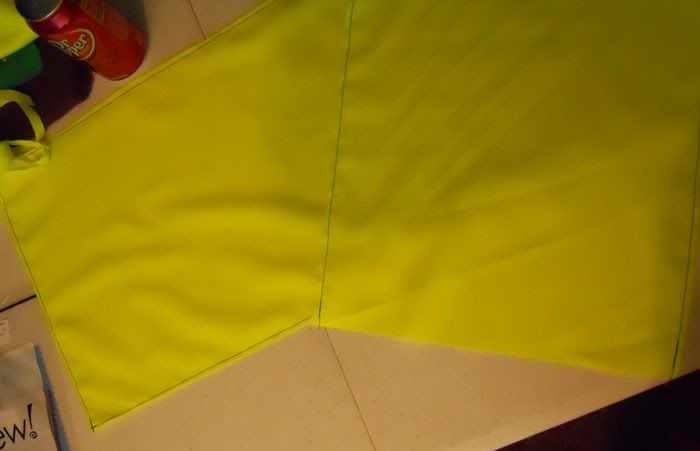
Laying the right sides of your scarf together, stitch down both long sides and one short end of your scarf with a 5/8″ seam. Trim away the seam allowance as close to the stitching as possible without cutting the thread. Turn your scarf right side out.
Step 5: Closing Your Scarf
You will now press all sides nice and flat. Once you have pressed the three sides you stitched in the last step, you will want to turn in your seam allowance on the last side and press it nice and hard so that it stays folded inside. Time for the last step.
Step 6: Top Stitch
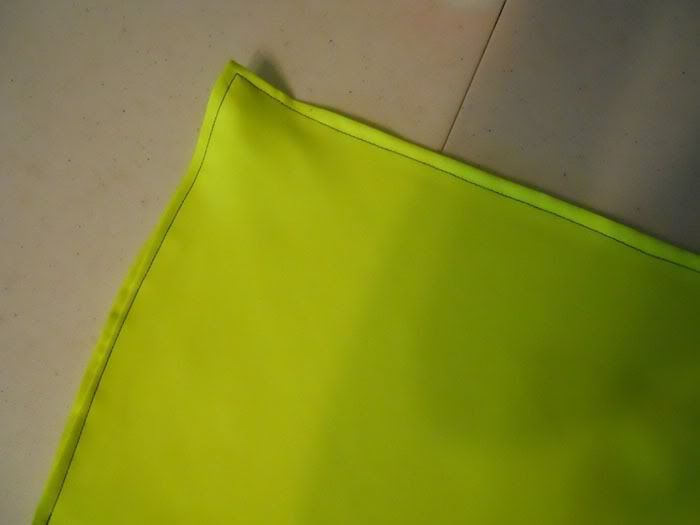
Just go all the way around your scarf, stitching close to the edge. It will make your whole scarf look nice and clean. It takes a while, but it’s worth it in the end. Just a note, I used a contrasting thread on the fabric to be able to show what I did in the tutorial. My whole scarf was done in red.
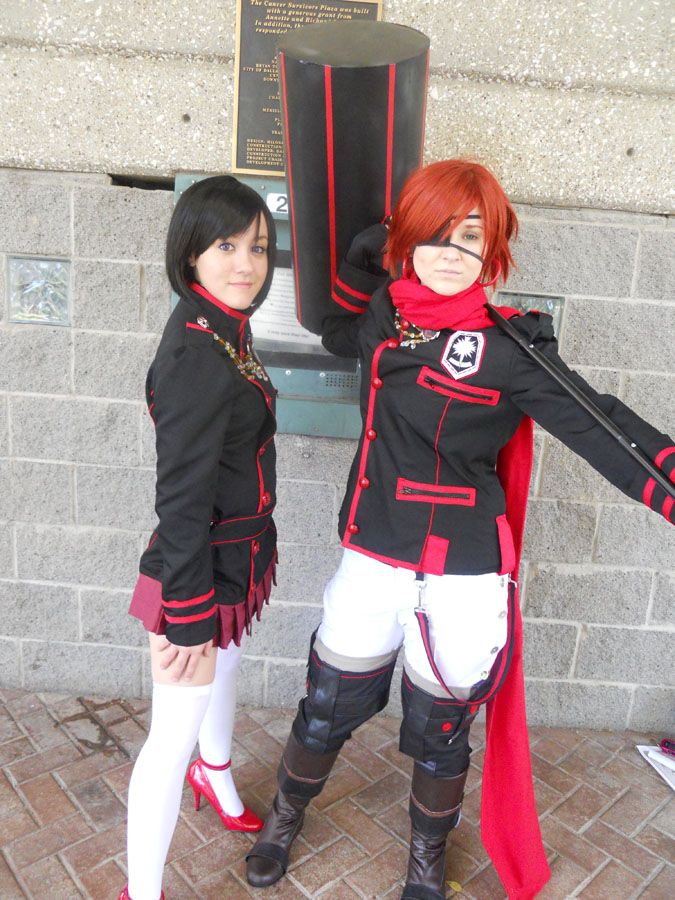
Final Costume with My Scarf of Doom (that’s my nickname for it):

As usual, any questions or comments are welcome. I probably will get more asking about my hammer than anything. My brother made that. He wants to remake it, and if he does, I will make sure to get a tutorial for it. I get questioned on it often.