How to make Pandora Hearts – Alice’s Diamond clips

alice
I recently purchased the Alice cosplay costume from Miccostumes and to celebrate the awesomeness that is Alice, I’m going to show you how to complete the Alice look^^V

A common accessory that most people miss out when cosplaying as Alice from Pandora Hearts is her golden diamond clips. This tutorial will show you how to complete your Alice cosplay with simple and easy to make clips.

What you need:

  • Air drying Fimo or Sculpey clay. This is light and easy to use.
  • Gold spray paint
  • Rolling pin – make sure to not use the family’s kitchen one ><
  • 2 sheets of foam
  • Cutting mat
  • Utility Knife or Stanley Knife
  • 2 flat alligator clips preferably 4cm or shorter in length
  • Hot glue gun
  • Flat object – can be ruler. For this tutorial I am using a plastic pallet knife.
  • This Template that can be downloaded here

There is a video that I have made showing my process.

Steps:

  1. Wrap your rolling pin with a sheet of foam. This will make it easier for you when you roll out your clay, the clay will come off easier.
  2. Cut out the template.
  3. Grab a small strawberry size amount  of the clay and roll it into a ball.
  4. Put the other foam sheet onto of your cutting mat.
  5. Use the rolling pin and flatten out the clay onto the foam to a reasonable width. Make sure the template fits inside the flattened out clay.
  6. Use the knife and gently cut around the template. Don’t cut into the foam.
  7. Make 4 of these diamonds.
  8. Use the flat object and curve the edges of the diamond in to make them rounded and draw in the lines as seen on the template onto the diamonds.
  9. Grab the two alligator clips and two of your diamonds. Put a diamond laying on the curved side of the alligator clip. This will make it dry in the shape and will be easier for you to glue it on later. Repeat for the other clip.
  10. Once the diamonds have completely dried, spray paint them with the gold paint. Let to dry
  11. Finally use hot glue to stick the diamonds onto the clips. There will be a diamond on the front and back of the aligator clips.

And We’re Done! YATTA! our cosplay costume is now complete!

How to Wash a Fiber Wig?

Wig is always a must-have item for an excellent cosplay performance. So, does the large collection of comfortable & faithful wigs stocked at Miccostumes.com meet your need? Anyway, this is a tutorial shared by Lajvio, guiding us on how to wash a fiber cosplay wig. Thanks, Lajvio :P.

How to Wash a Fiber Wig

Easy, No-Tie Bows

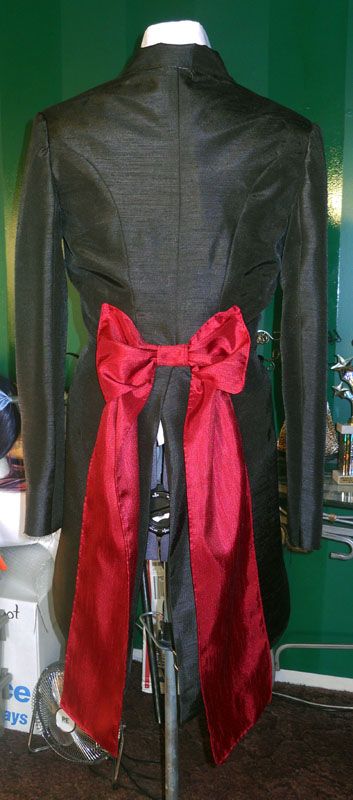
Sometimes you want to make bows that you don’t have to tie every time you wear a costume. Or you need them to be attached permanently, so I’ve come up with a way to make them and now will share that with you.

Step 1:

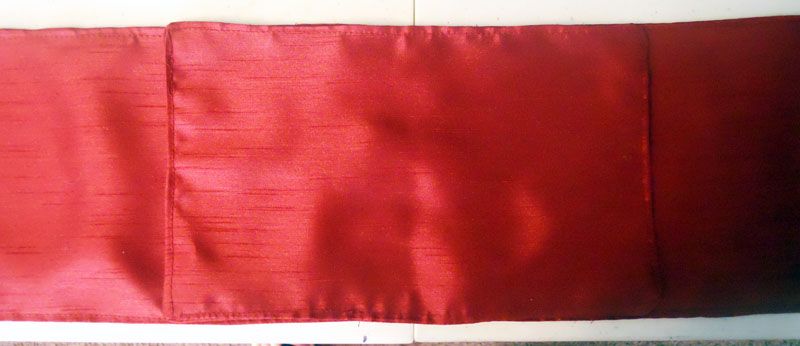
Decide what size you want the bow to be. The one I was making in this tutorial goes on the back of a tailcoat, so I decided it would be 10″x6″, so I cut two pieces 11″x7″. If you are working with a flimsy fabric, you might want to interface the bow pieces. I was working with a fairly sturdy shantung, so I didn’t bother with interfacing, but for other bows I’ve made in the past I have interfaced them.

Step 2:

Stitch around one long edge and both side edges completely with a 1/2″ seam. One the remaining long side stitch from each corner to the center, leaving about an inch open.

Step 3:

Trim the seams and clip the corners. I usually don’t trim the seam area where I’ve left the opening because it makes it easier for the next step.

Step 4:
Turn your piece right side out, folding the seam allowance of the opening to the inside and press the whole thing. Then top stitch as close to the edge as you can.

Step 5:

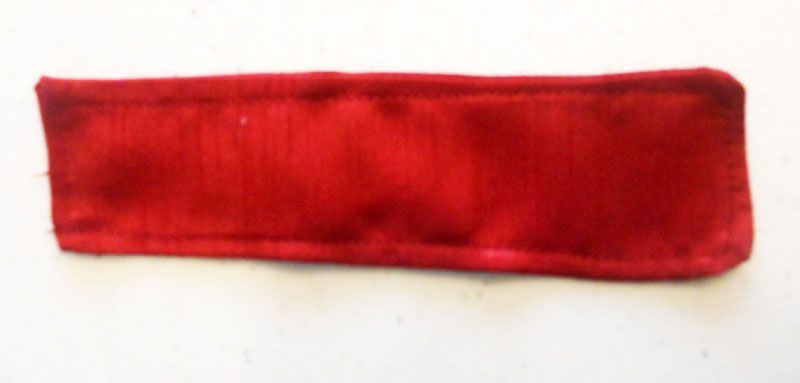
Time to make your knot. I cut two pieces about 7″x3″ to fit my bow. I stitched it together with a 1/2″ seam along one short end and both long sides. Then I turned it right side out, turned the short open end to the inside, pressed, and top stitched just like the bow.

Step 6:

This next step is optional, depending on what type of bow you are making. This is the step to make the tails for the bow. For the coat I’m adding this to, I need some pretty long tails. I wanted each one to be roughly 25″ long from the center of the bow, so I cut two strips of fabric 52″x7″. Then I stitched it together just like the bow part, turned it and top stitched it.

Step 7:

Now it’s time to join the pieces together. Find the center of your bow and tails and lay them together. If you are making a bow without tails, just find the center of the bow and go to the next step. If you are doing one with tails, lay the bow and tail together with the centers matching.

Step 8:

Grab your bow and tails at the center and gather them. Wrap the knot part around the bow and tails as tight as you want, making sure that the end is in the back when you are done. Pin it in place and hand stitch the knot into place.

Attach your bow:

Position your bow wherever you need it and hand stitch it place.

Other bows made using this method:

This one is very similar to the one from the tutorial except the fabric was lighter weight, so it was interfaced.

Bows with shorter tails. These were made for Sailor Neptune from Sailor Moon. Since the bows needed to be very stiff, I interfaced the bow and tails both so that they wouldn’t sag.

And finally, the method without the tails.

Hope this was helpful to anyone needing to make bows.