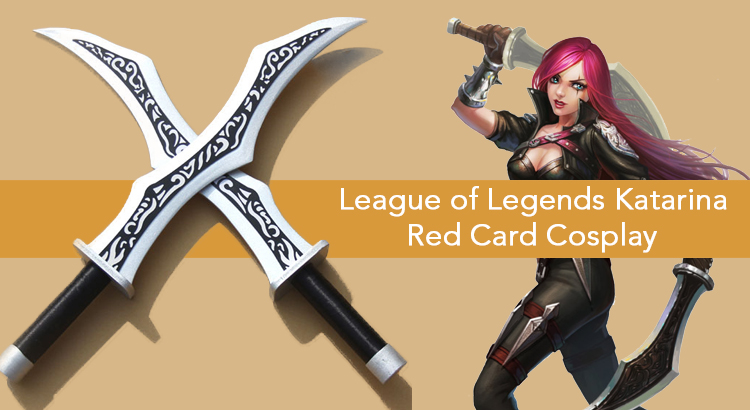
“If you run, you won’t see me stab you!”
–Katarina
You will play with knifes and gravers in this tutorial, but definitely you wouldn’t get yourself stabbed. Follow these easy steps and start creating the so called Katarina’s Blades.
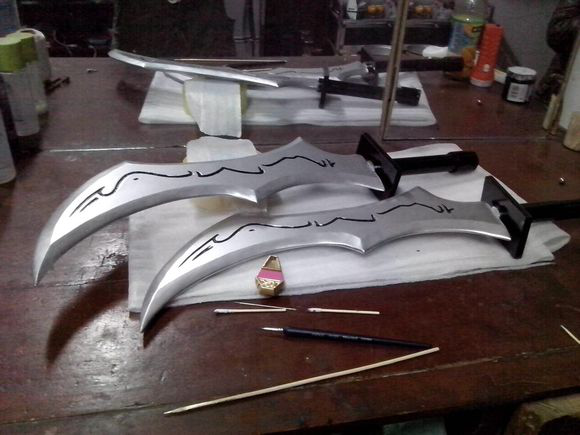
Main materials:
- 5mm and 3mm thick PVC panels
- PVC tubes of 5cm or 3cm diameter
- Iron wire
- Glue
- Utility knife, graver
- Propylene, Aerosol

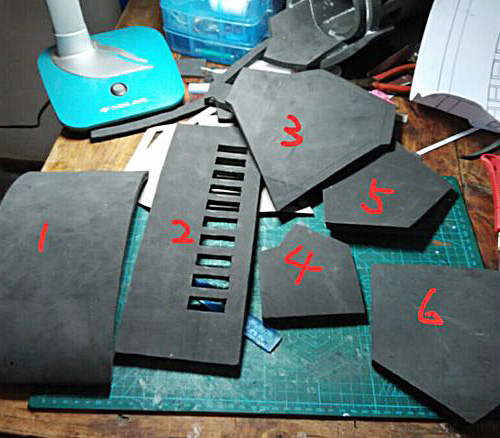 For each gauntlet, we need 6 pieces of EVA patterns to assemble into a whole. In the picture above, pattern 1 is for the base, patern 2 is cartridge belt, pattern 3 is the cover, pattern 4 is muzzle cover sheet, pattern 5 and 6 are elbow pieces.
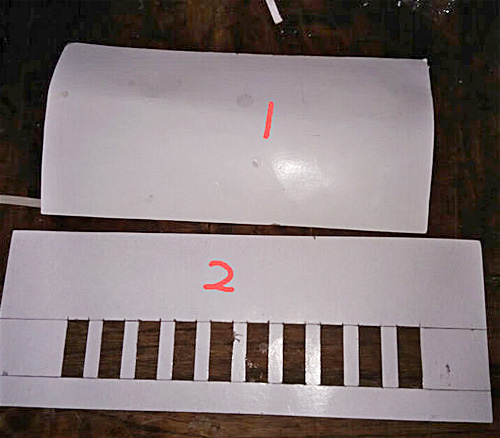
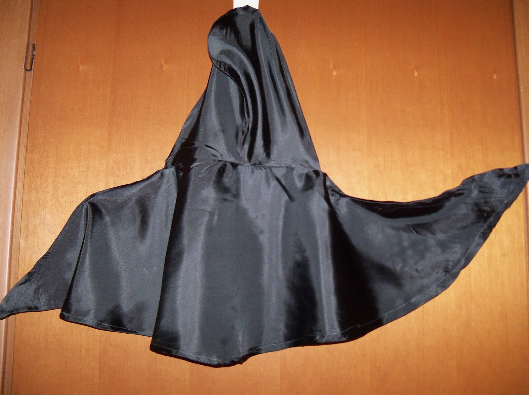 What you will need for creating a hooded cape:
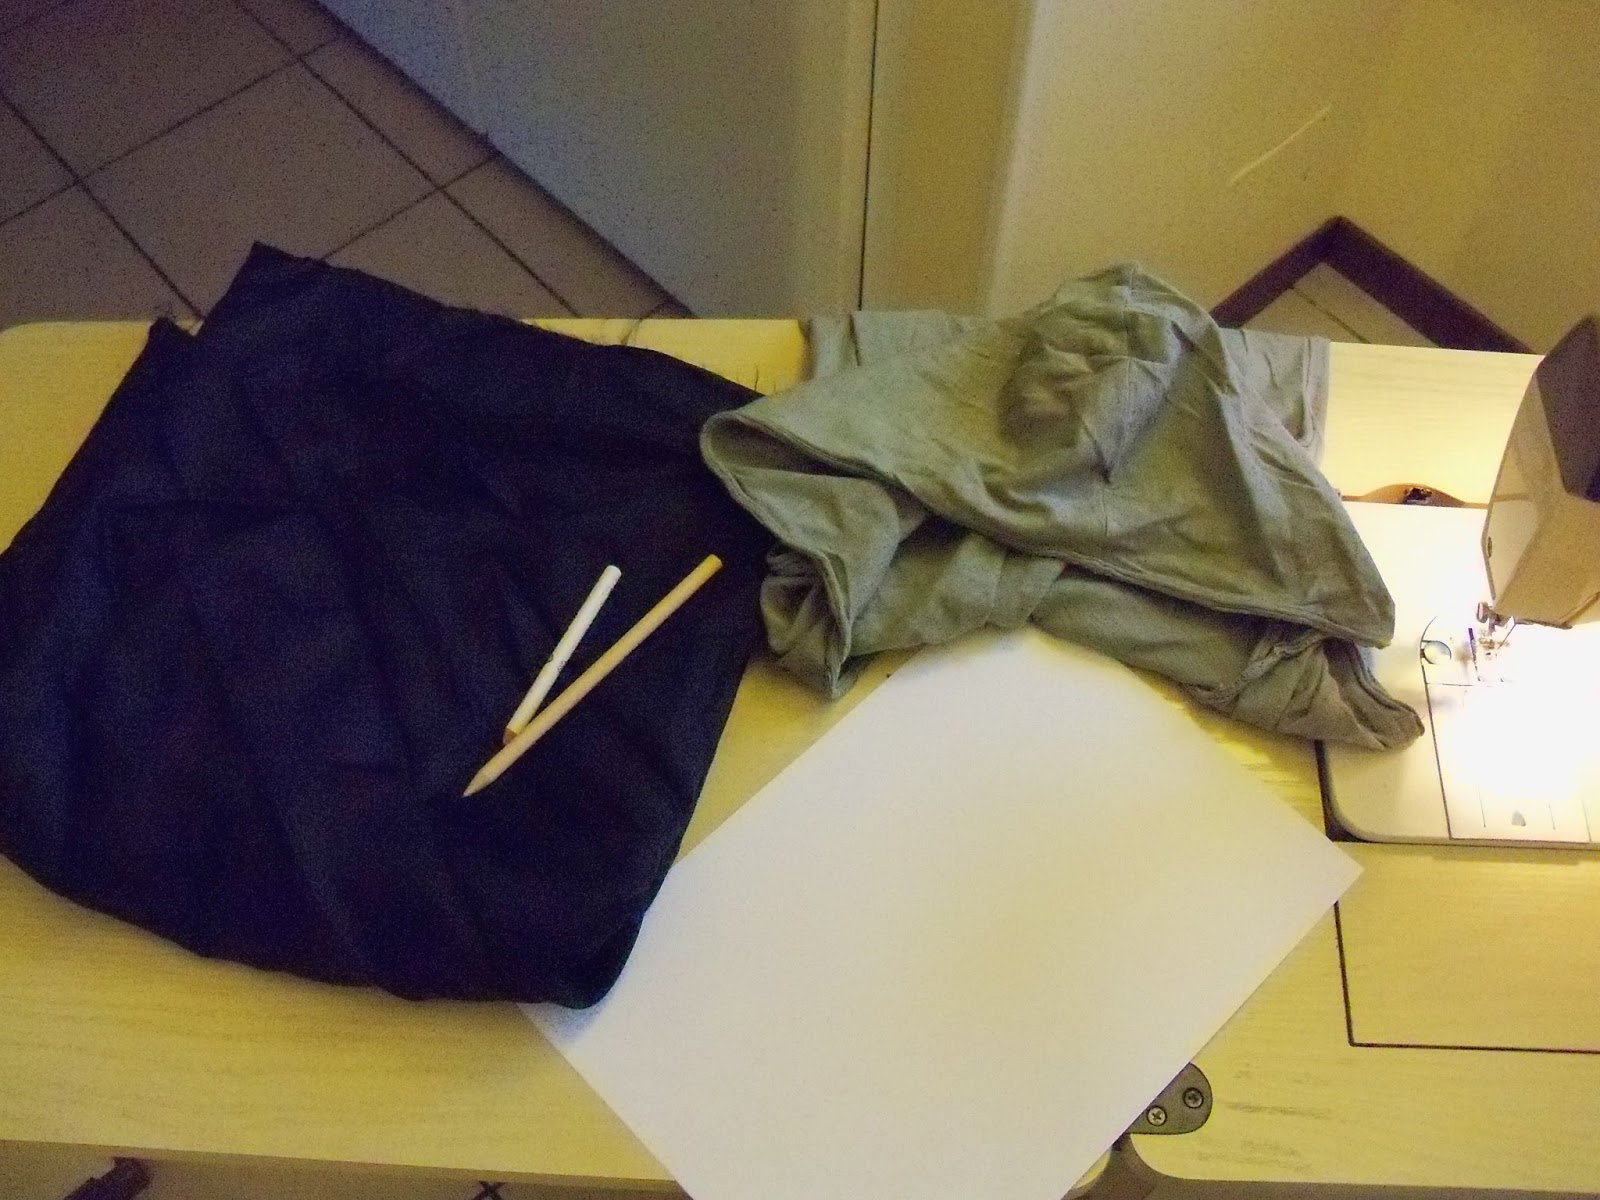 Start of with your fabric folded.
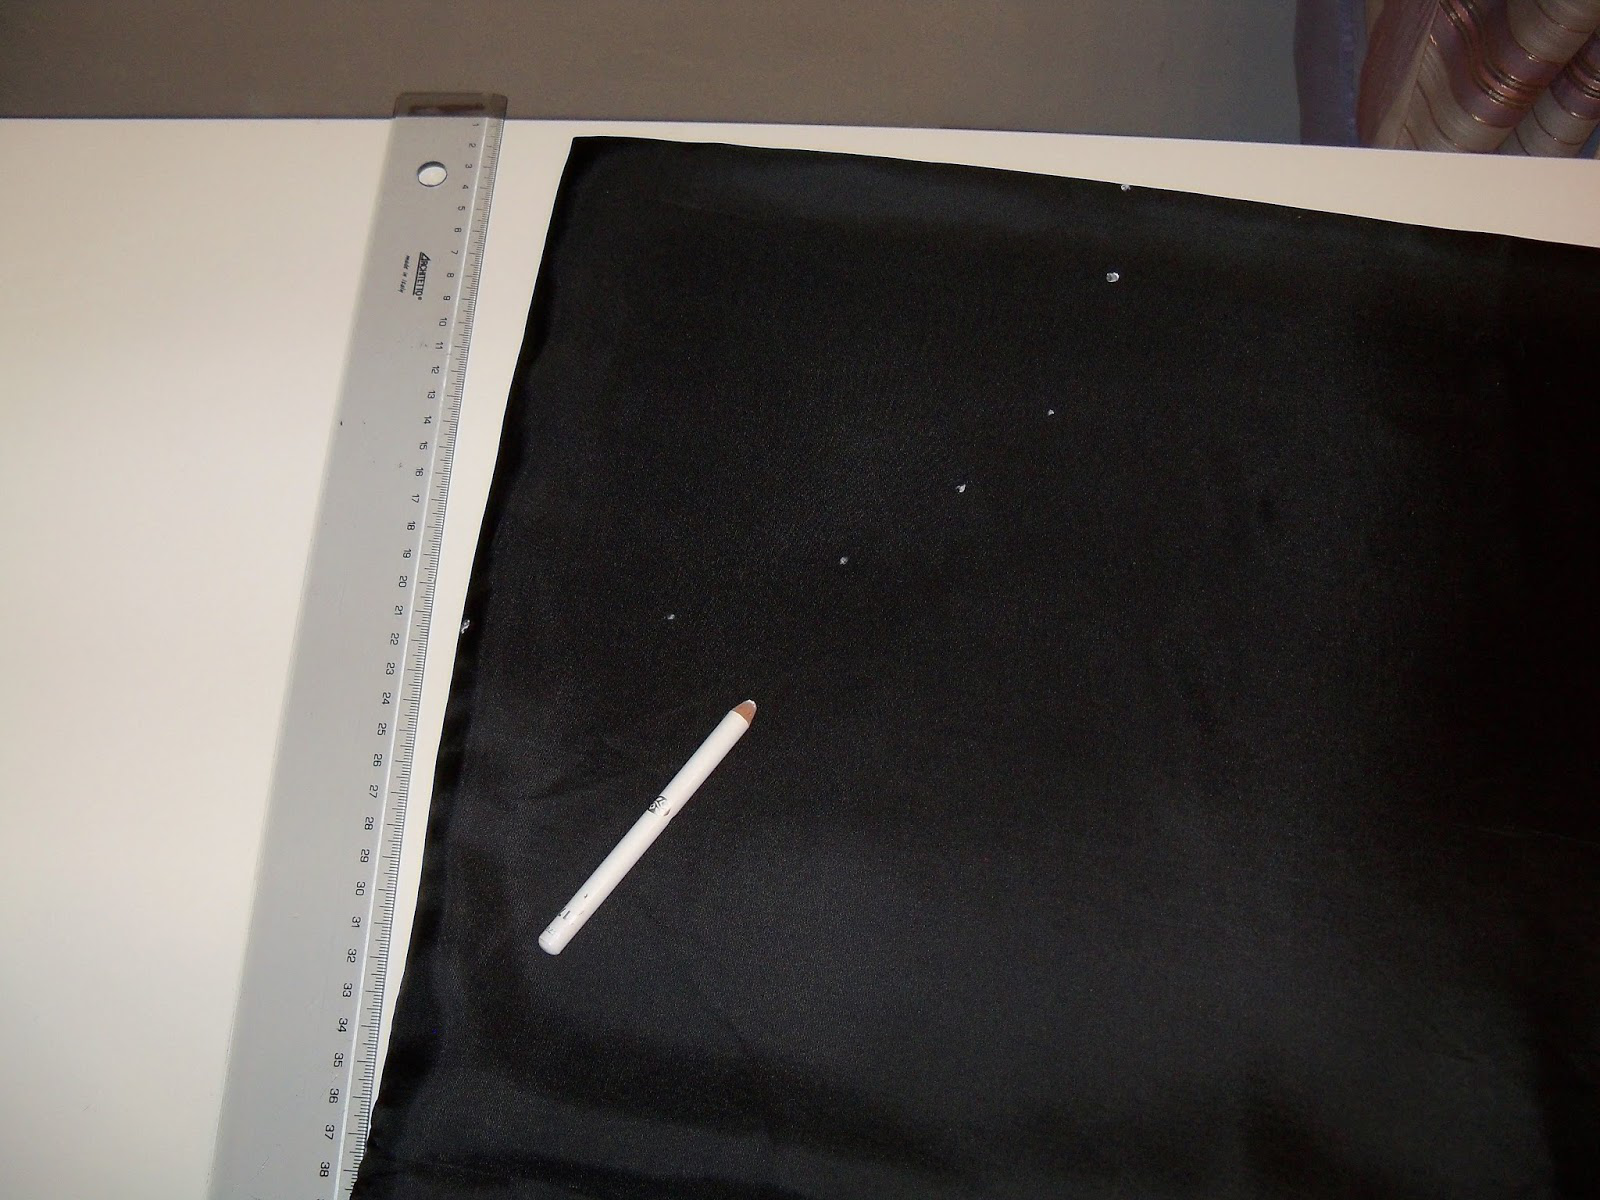 Take your chalk pencil and mark 15-20 cm starting from the corner of the folded fabric with small dots, forming a quarter of a circle.